
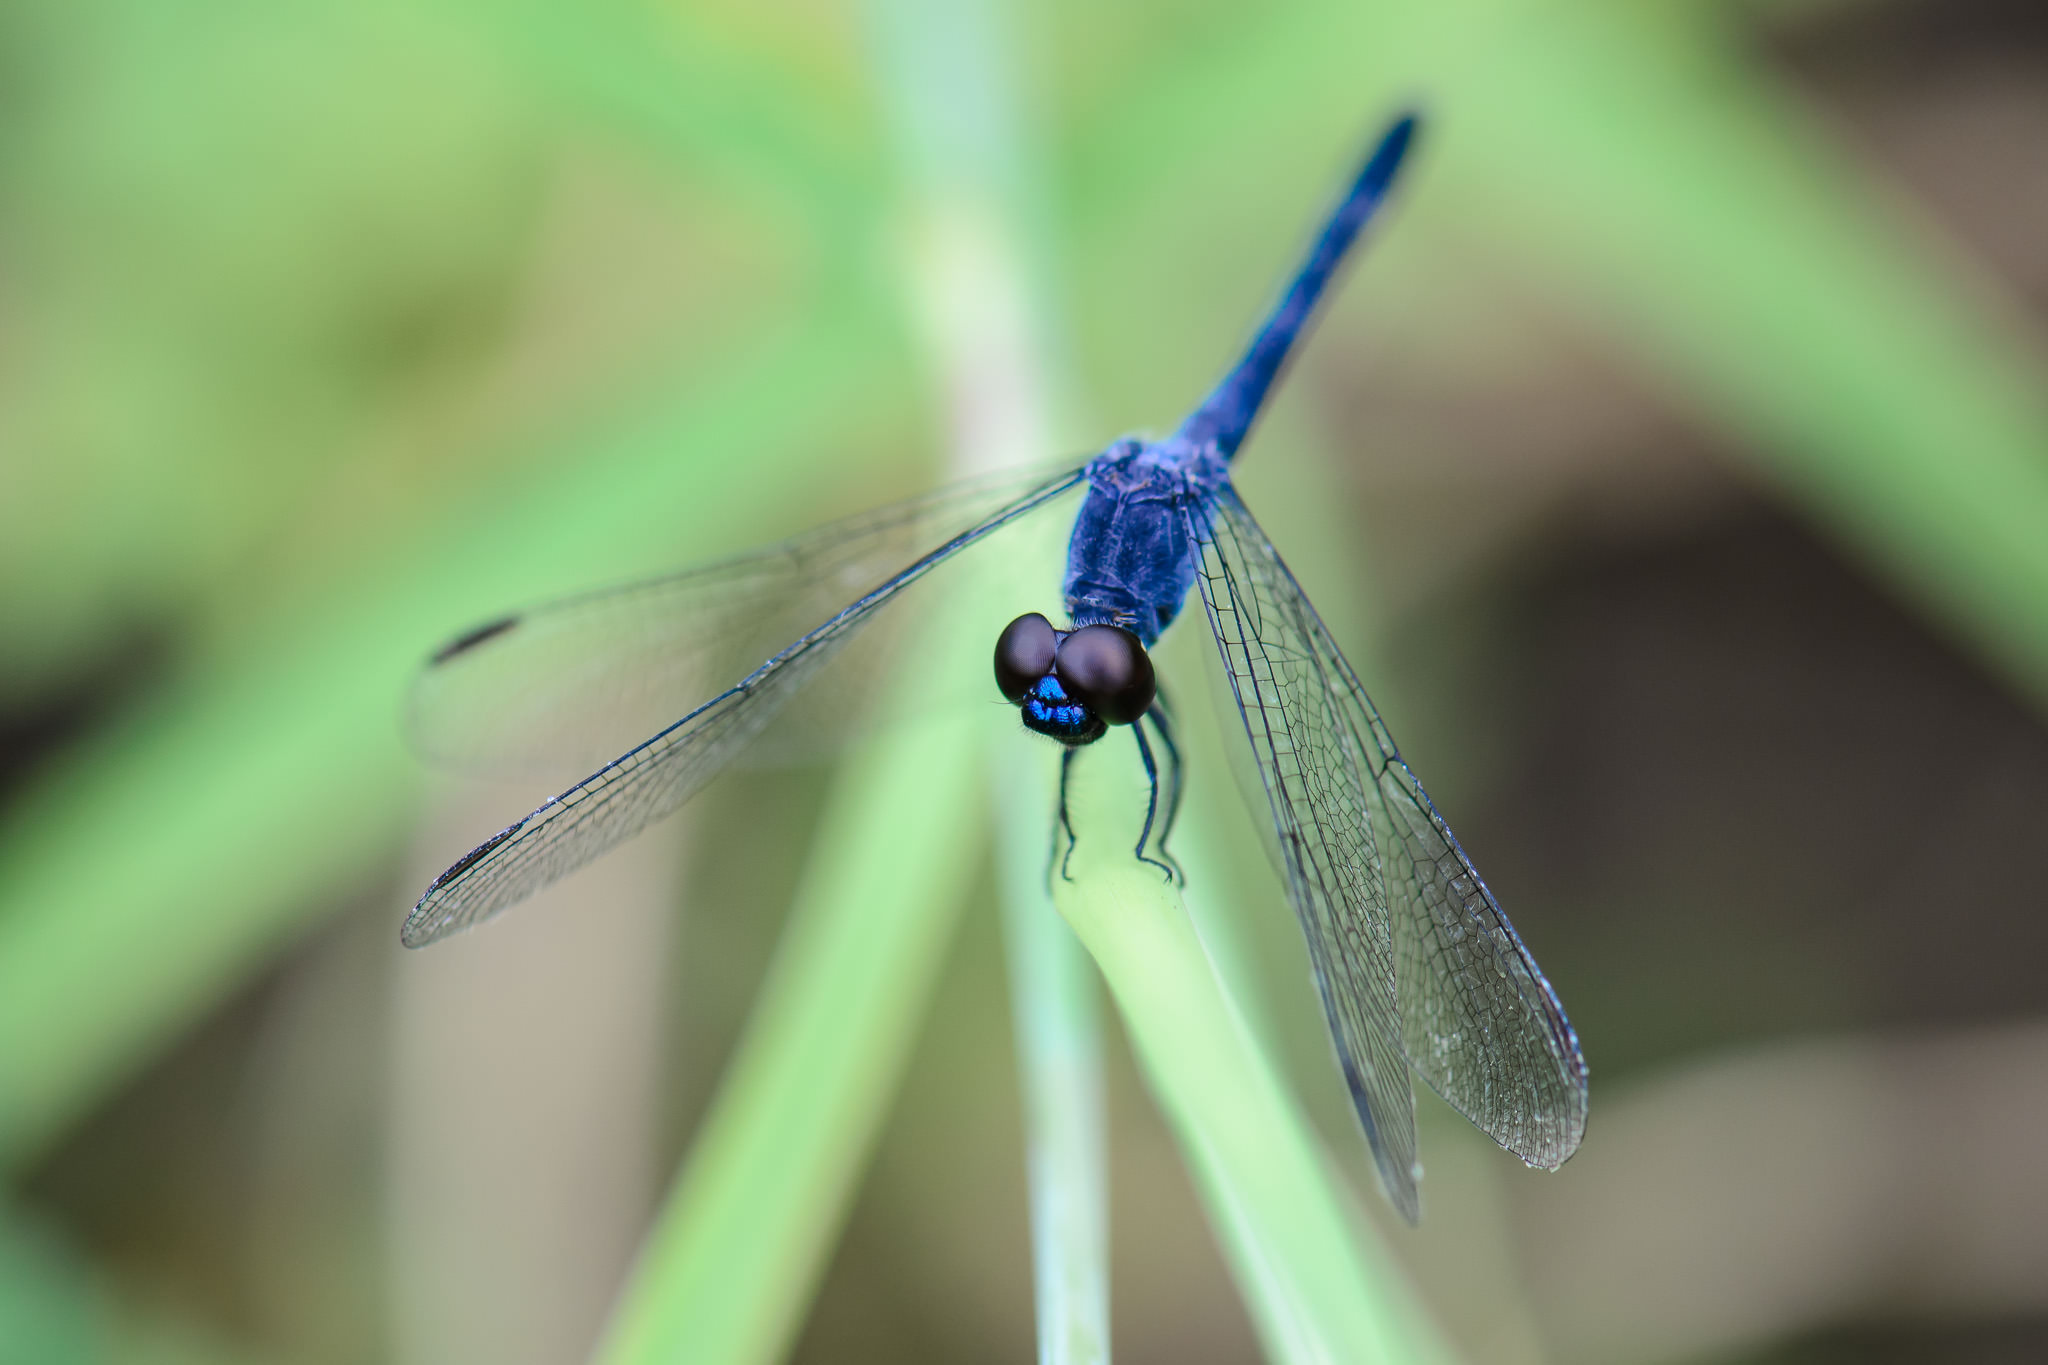
Macro photography is one of the most popular forms of photography, and with good reason. It is easily accessible, and it is a very broad genre of photography. Studio pros can enjoy taking macro shots of leaves, flowers, and sluggish insects, maintaining total control over lighting. Nature lovers can spend hours outside, searching for hidden treasures among flowers and leaves. Plus, in non-photographic locations (like most people’s backyards), macro photography makes it possible to take great images of nature without traveling at all.

NIKON D7000 + 105mm f/2.8 @ 105mm, ISO 800, 1/250, f/8.0
Along with all the benefits of macro photography, though, there are some technical hurdles that you must cross. Physics comes into play in macro photography in ways that are not as relevant to other genres, which is why I wrote this guide – I hope to clear up the most intimidating aspects of macro photography for beginners, and perhaps suggest some tips for seasoned macro photographers along the way.
NIKON D7000 + 105mm f/2.8 @ 105mm, ISO 450, 1/400, f/4.0
1) Magnification
Macro photography has to do with the size that your subject is projected onto your camera’s sensor. If you have a one-inch subject, its projection at “life-size” would be one inch on the camera’s sensor. An object which fills one inch of the sensor will fill most of the resulting photo, since the sensors in typical DSLRs are no more than 1.5 inches long.
When an object is projected at life-size onto the sensor, it is at “1:1 magnification”. If an object is projected at half of life-size (say, that one-inch object takes up just 1/2 inch of the sensor), it is at 1:2 magnification. With 1:10 magnification or smaller, you aren’t really shooting a macro photo anymore.
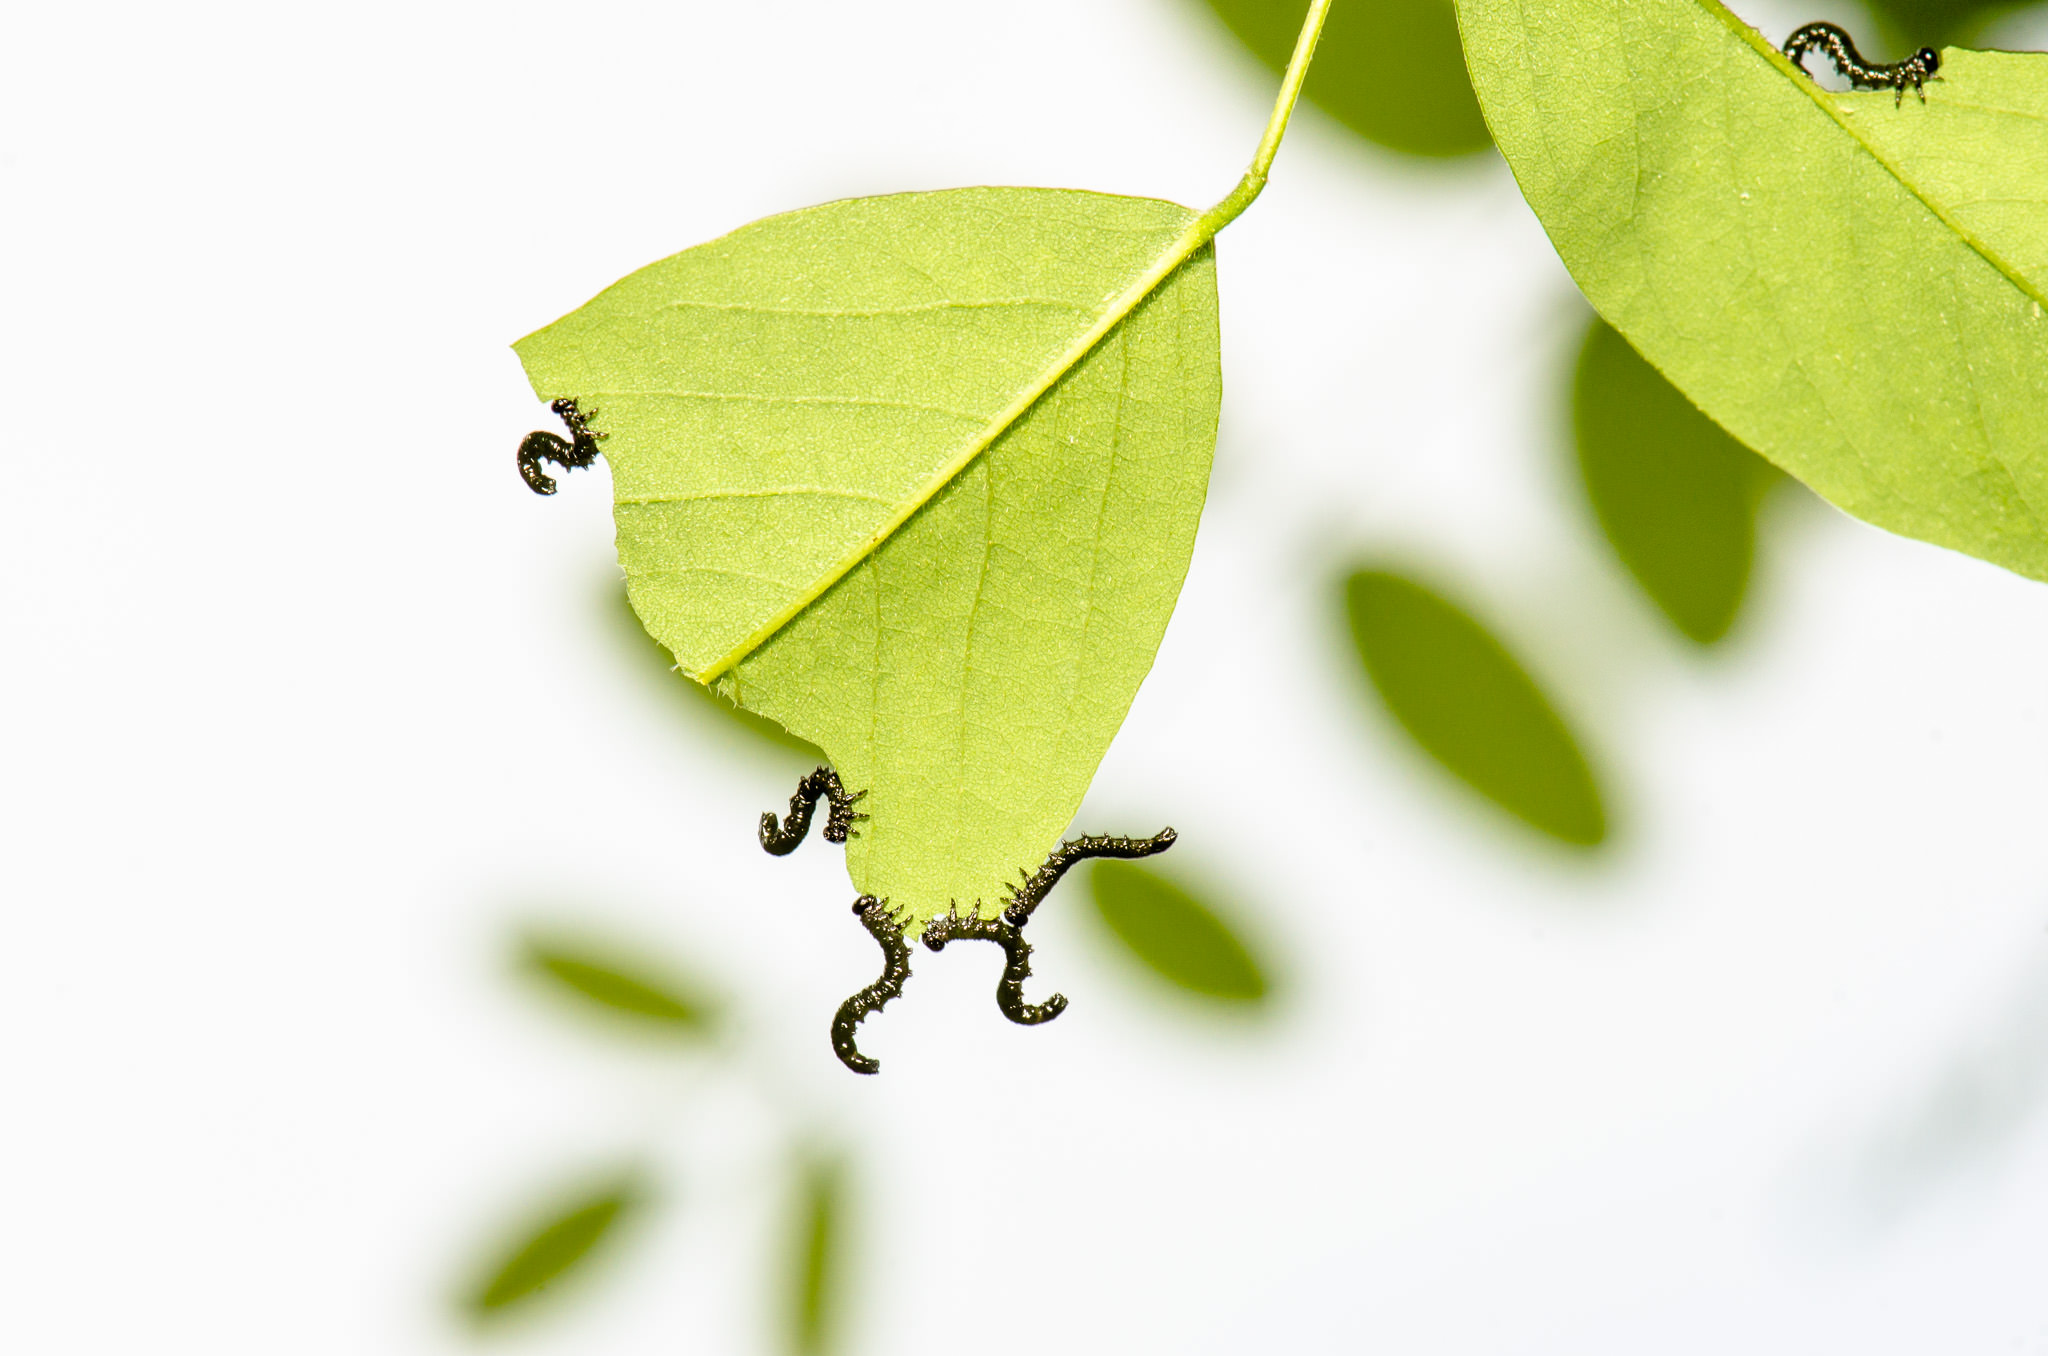
NIKON D7000 + 105mm f/2.8 @ 105mm, ISO 100, 13/10, f/5.6
2) Working Distance
Working distance is easy: it’s the distance between your sensor and your subject at the closest possible focus distance of your lens. The longer the working distance, the easier it is to stay away from your subject (and if that subject is skittish or dangerous, a large working distance is fairly useful).
A working distance of ten inches means that, with a camera/lens combo of eight inches long, the front of your lens will be two inches from the subject at its closest focusing distance.
The best macro lenses, as you might expect, have large working distances — a foot or more. The working distance increases as the focal length of the lens increases. The Nikon 200mm f/4 and the Canon 180mm f/3.5 are two examples of macro lenses with large working distances.
Also, of course, your working distance increases as your magnification decreases. At 1:4 magnification, for example, you don’t need to be nearly as close to your subject as you would if you want to photograph it at 1:1 magnification.
NIKON D7000 + 105mm f/2.8 @ 105mm, ISO 1250, 1/160, f/16.0
3) DSLRs vs Mirrorless
For macro photography, either DSLRs or mirrorless cameras would work great. If you are looking at native mount options, DSLRs are going to be ideal due to the large choice of available macro lenses (particularly longer focal length macro lenses) and accessories. If you are open to using adapters, mirrorless cameras can be used with pretty much any DSLR lens as well, although Nikon’s “G” type lenses without aperture rings are often quite painful to use with adapters, as you cannot set accurate aperture values. Having live view on the LCD is very helpful, since truly instantaneous feedback lets you know exactly how you have the image framed — tiny hand movements in macro photography can lead to massive shifts in composition.
4) Full-Frame vs Crop-Sensor
If your goal is to create photos with the highest magnification possible, full-frame cameras are usually overkill for macro photography. Even the Nikon D810 with 36 megapixels cannot match the magnification of the 24 megapixel Nikon D7200, simply because the pixels on the D7200 are smaller.
With macro photography, the highest pixel density (most pixels per square millimeter of the sensor) is what determines the maximum magnification of the subject. The large-sensor D810 has fewer pixels per millimeter than the smaller-sensor D7200, despite having more total pixels. In many genres of photography, larger pixels are preferable. With macro photography, though, the smaller pixels lead to more magnification, even at the expense of sensor size.
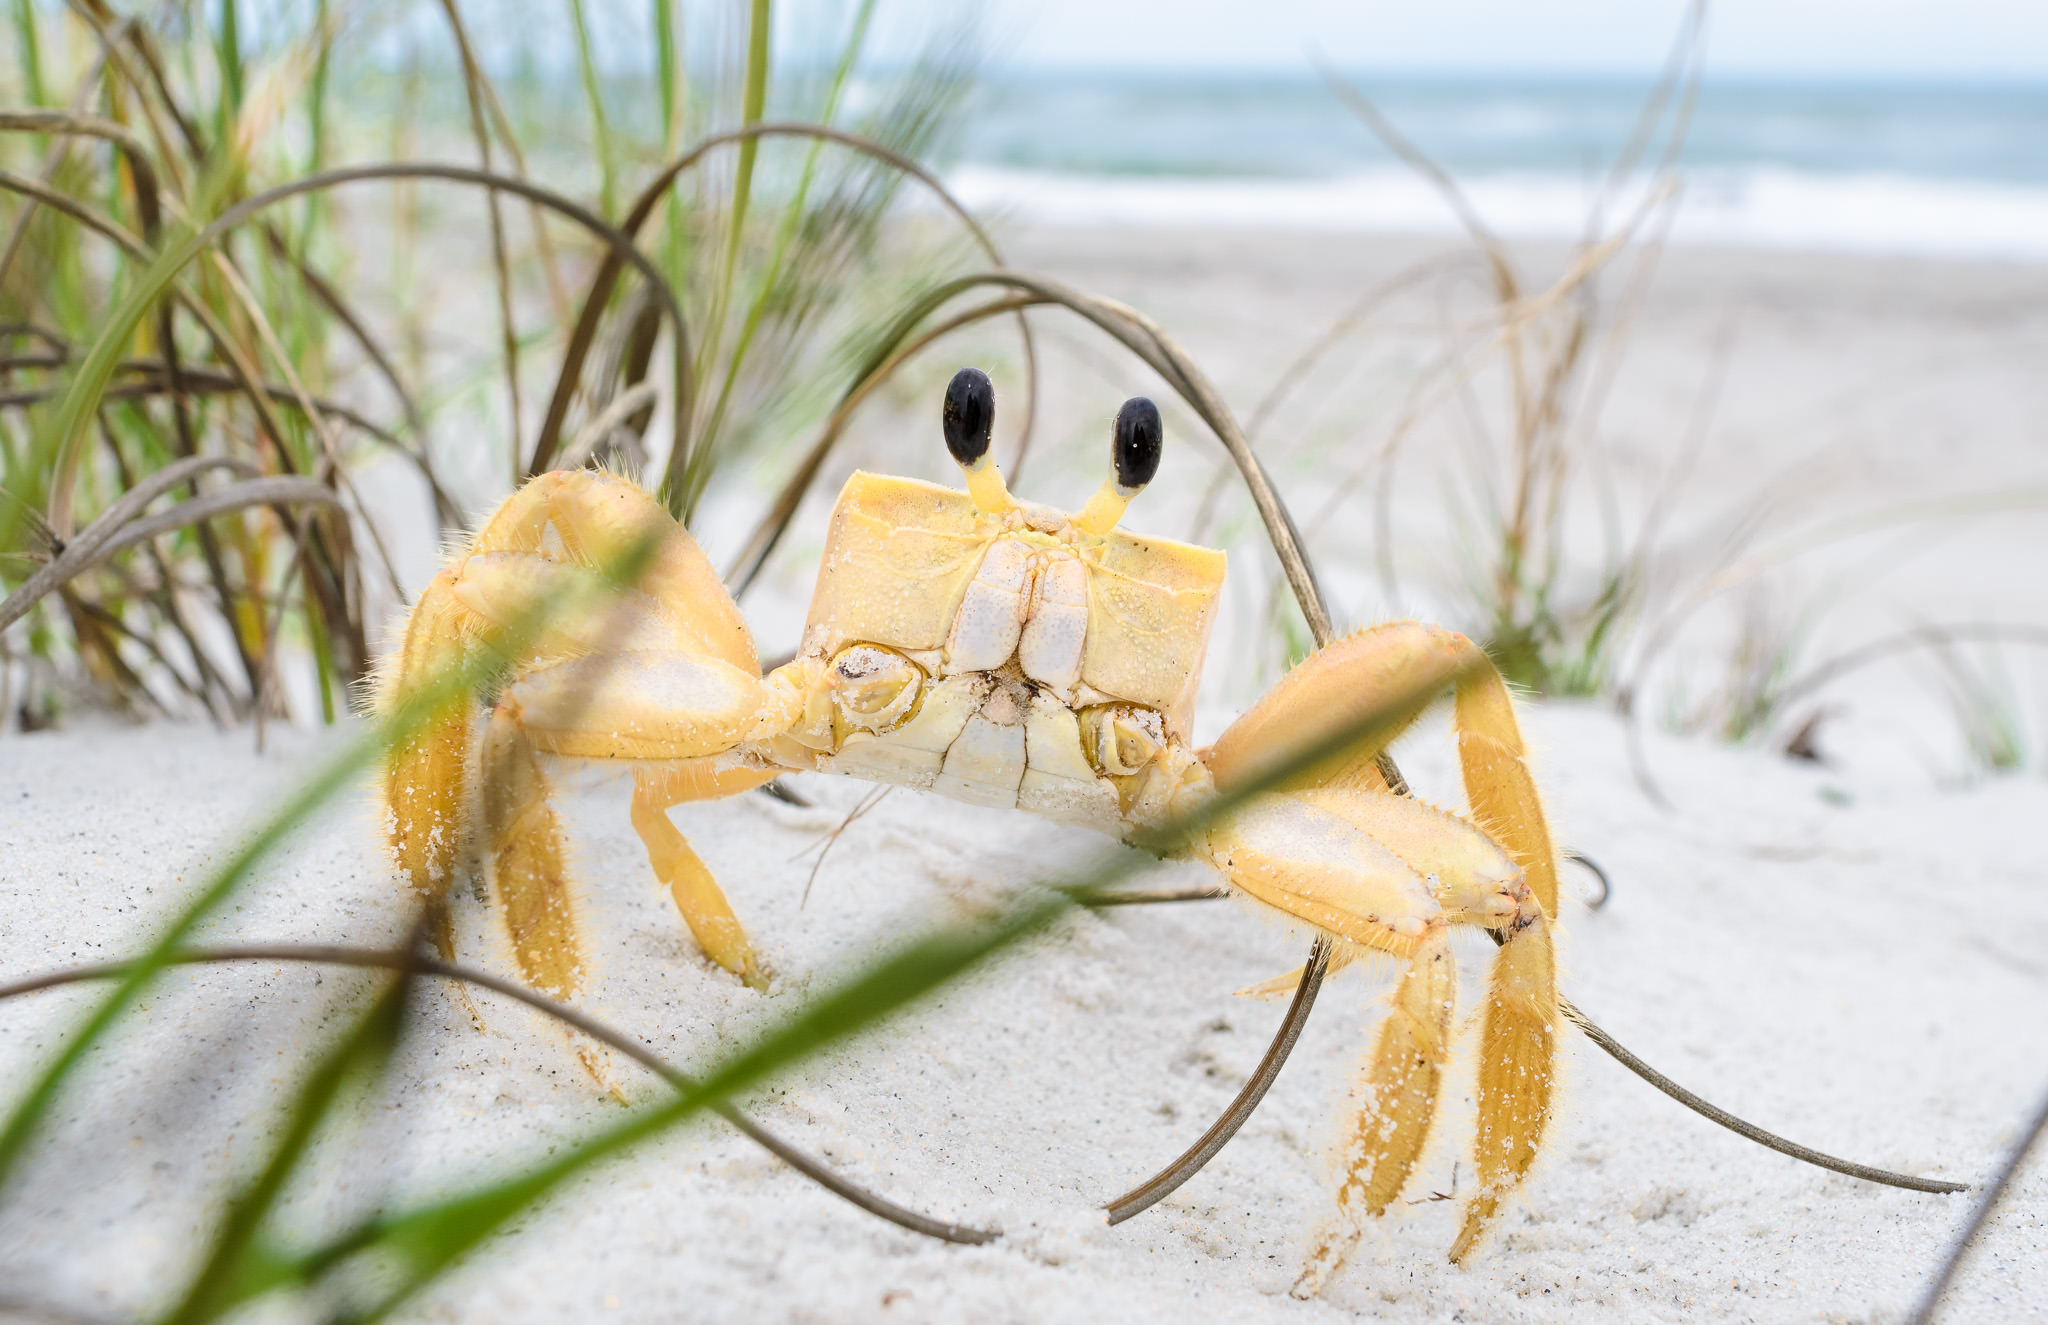
That being said, large-sensor cameras certainly have other advantages. Their larger viewfinders help with focusing, and they generally have more controls, particularly on higher-end models. More importantly, if you take photos which aren’t at maximum magnification, full-frame cameras have a distinct image quality advantage. For example, you probably wouldn’t want to take a photo of a crab as close as you can focus, because the final photo would not have the entire crab in it! In this situation, the larger sensor and higher pixel count of, say, the D810 would give you a real advantage over the smaller-sensor D7200, even though the D7200 has more pixels per millimeter.
So, a full-frame DSLR is still generally better for macro photos than a cropped-sensor camera, but the advantage isn’t as large as in other genres of photography.
NIKON D7000 + 24mm f/1.4 @ 24mm, ISO 250, 1/200, f/7.1
5) Canon vs Nikon
For almost all genres of photography, Canon and Nikon (and others) are so close in quality that arguments about which is “better” are, at best, extremely picky. Sure, there are differences, but it is rare that any system has a flaw that is fatal for the typical user. Macro photography is a bit different.
I don’t want to ignite a flame war, but Canon DSLRs simply are not as well-suited to macro photography as those from Nikon. This is nothing against Canon’s amazing cameras and fantastic macro lenses, which are certainly as good as those from other brands. Instead, there is a very simple reason why Canon is not ideal for macro photography: aperture calculations.
As you focus closer, something interesting begins to happen with a lens’s aperture. Even if the physical aperture inside the lens stays a constant size (say, ten millimeters across), the aperture starts to “act” smaller as you focus closer and closer. This is never something that you would notice in normal photography, since its effects do not become visible until you focus near life-size. However, at 1:1 magnification, a lens’s aperture could be the same physical size as f/11, yet it appears in every way (diffraction, depth of field, and light loss included) to be at f/22. So, then, what aperture would you want your camera to read? The actual, physical size of the aperture (f/11), or the aperture which is correct in every other way (f/22)?
By far, it is better to know the aperture that is correct in practice — f/22 in this example. Otherwise, your settings (for example, f/11, ISO 100, and 1/100 shutter speed) would result in different exposures depending upon how close you focus! Nikon does this the proper way, by reading the “essentially correct” aperture of f/22. On the flip side, Canon’s cameras read the physical size of the aperture (f/11) rather than the practical aperture, and thus are far harder to use for macro photography. It is possible to work around this issue on a Canon camera, but it takes more time and can be confusing (especially if you are changing the magnification as you shoot). The rough formula to calculate the proper aperture on a Canon camera is as follows:
Practical aperture setting = Physical aperture setting x (1 + fractional magnification).
The “fractional magnification” of, say, 1:2 is one-half. So, with a Canon camera that reads f/11 at 1:2 magnification, your practical aperture is 11 x (1.5), or roughly f/16. Fairly easy, just something that takes too much time if you’re changing magnification constantly.
NIKON D7000 + 105mm f/2.8 @ 105mm, ISO 800, 1/250, f/14.0
6) Conclusion
There are, of course, a great deal of technical terms related to macro photography, but the most crucial is the concept of magnification. Once you understand the differences between, say, life-sized images and 1:4 images, you already know the most crucial macro-specific terminology that you’ll come across. And, although Nikon DSLRs with high pixel densities are technically the “best” for macro photography, you certainly can take great macro photos with any camera, even compacts. Macro photography is extremely accessible, which is what makes it so popular among both beginners and professionals.
No comments:
Post a Comment